Simplifying Nutrient Feeding in Hydroponics: My Latest Approach
As a hydroponic grower, I’m always looking for ways to make my routine more efficient and effective. Recently, I’ve been experimenting with how I feed my plants in the tent, and I wanted to share how this new method is making a big difference in my grow experience.
Traditional Methods vs. My Approach
Typically, I recommend mixing nutrients in an external reservoir—like a large tub or bucket—and then topping up the hydroponic buckets from there. This process is straightforward and allows for easier measurement and mixing, especially when dealing with multiple plants.
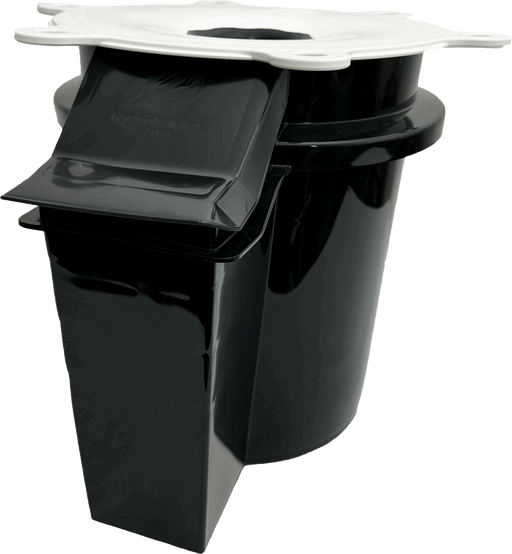
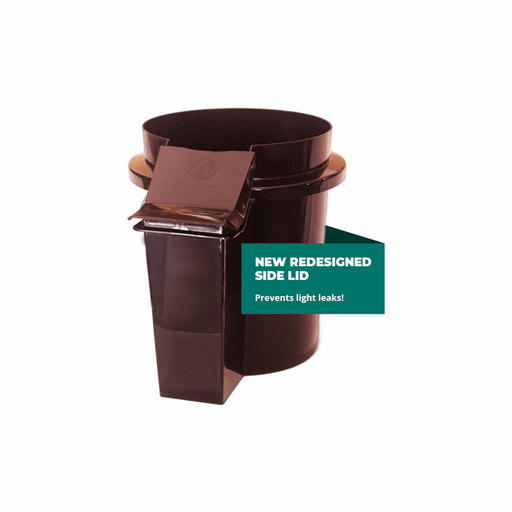
However, I’ve heard many growers say they prefer to mix directly into their hydro buckets, especially with hydro buckets that offer side access. This can be especially convenient compared to older equipment like five-gallon buckets or large storage containers, which require more effort to manage.
The New Routine
Lately, I’ve simplified things even further. Here’s what I’ve been doing:
- Filling the Hydro Buckets: I remove the lid of each hydro bucket and fill them with tap water from my laundry sink down in the basement, using a hose. You can also use and refill a container with a spout. I fill them up to about 11 or 12 liters, based on the marks on the buckets.
- Adding Nutrients: I shake up my nutrient bottles and draw the appropriate amount for the stage of growth, using a syringe. I then add this directly into each hydro bucket. Calmag first, then the Veg or bloom A and then Veg or Bloom B.
- Adjusting pH: Using a small 3 ml syringe, I draw 1 milliliter of pH down and add it directly into each bucket, adjusting the pH to suit my plants.
- Adding Benificials: The following day I will add my Hygrozyme and Hygroben in the same fashion as the nutrients.
- Monitoring ph: My ph is usually quite stable though I will monitor and adjust if needed every few days. I never add more that 0.5ml to 1.0 ml of Ph adjuster at a time and always wait for the following day to check my ph and re-adjust.

Results and Benefits
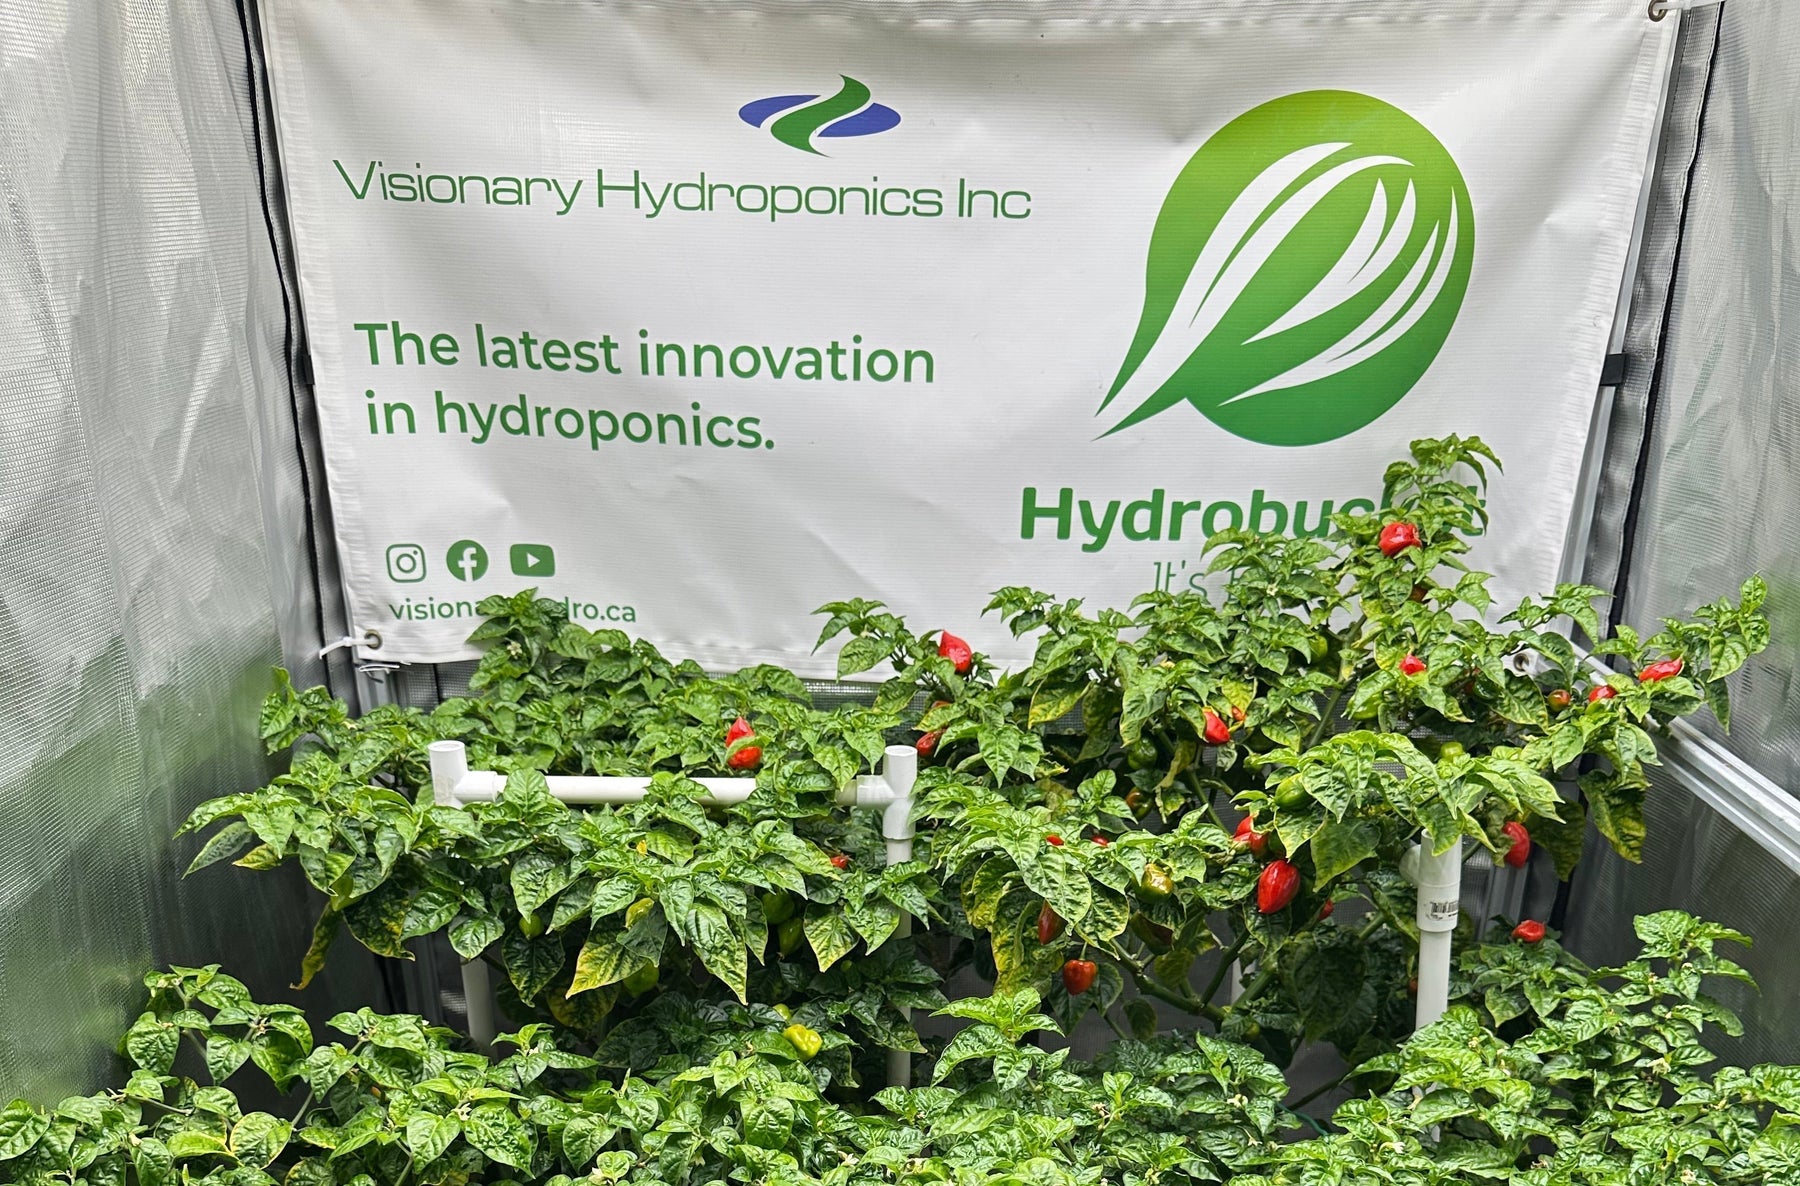
I’ve been using this method for a few months now, and my plants are thriving. Honestly, I haven’t noticed any difference in plant health or growth compared to mixing nutrients in an external reservoir. The plants are super happy, and the process is way simpler.

Why I Love This Approach:
- Less Equipment Needed: No transfer pumps, large tubs, or complicated pouring.
- Time-Saving: Eliminates the need to transfer or pour large volumes of nutrient solution.
- Easier Maintenance: Adds flexibility and reduces cleanup.
Final Thoughts
This small change has made a big impact on my grow routine. It’s straightforward, saves time, and most importantly, my plants are flourishing. If you’re looking for a way to streamline your nutrient feeding schedule without sacrificing plant health, I highly recommend giving this method a try.
You can also watch our YouTube video located below.
Happy growing!
Start Indoor Growing Today!
-
HydroCombo
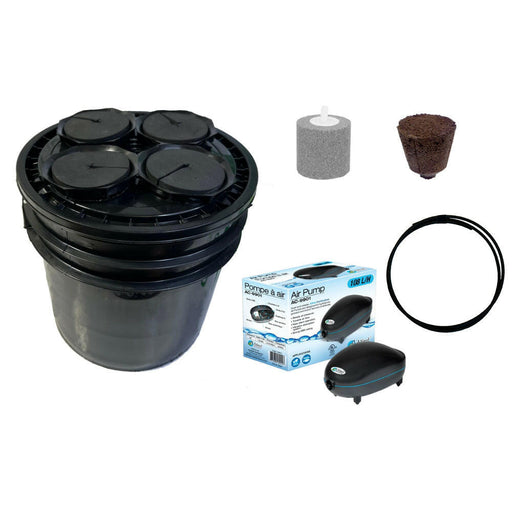
Visionary HydroponicsOriginal price $76.45Original price $76.45 - Original price $76.45Original price $76.45Current price $57.34$57.34 - $57.34Current price $57.34Maximize your hydroponic gardening efficiency with the HydroCombo, an all-in-one solution for your Deep Water Culture needs. This high-quality comb...
View full detailsOriginal price $76.45Original price $76.45 - Original price $76.45Original price $76.45Current price $57.34$57.34 - $57.34Current price $57.34Sold out -
HydroSeed
Visionary HydroponicsOriginal price $62.98Original price $62.98 - Original price $62.98Original price $62.98Current price $47.23$47.23 - $47.23Current price $47.23Simplify Starting Your Hydroponics Seedlings Introducing the HydroSeed, our all-in-one solution to go from seed to harvest effortlessly, and cultiv...
View full detailsOriginal price $62.98Original price $62.98 - Original price $62.98Original price $62.98Current price $47.23$47.23 - $47.23Current price $47.23Sold out -
ZoomPak Cure & Store 1/2lb Bags
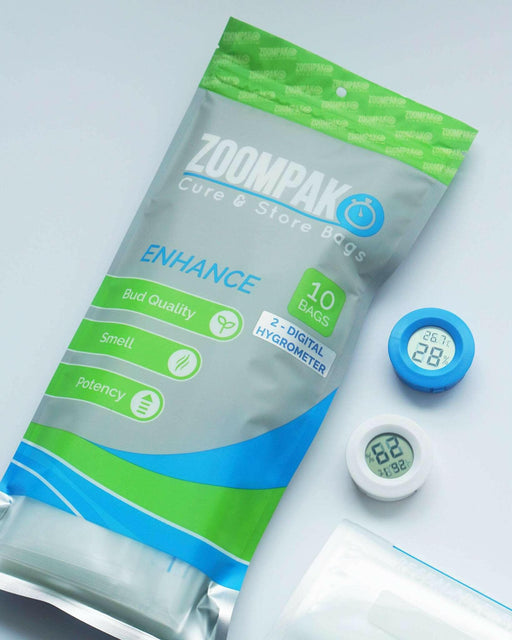
Visionary HydroponicsOriginal price $39.96Original price $39.96 - Original price $39.96Original price $39.96Current price $29.97$29.97 - $29.97Current price $29.97ZoomPak Cure & Store 1/2lb Bags - 10 Pack The ZoomPak Cure & Store Bags are designed for the discerning horticulturist seeking to pre...
View full detailsOriginal price $39.96Original price $39.96 - Original price $39.96Original price $39.96Current price $29.97$29.97 - $29.97Current price $29.97Save 25% -
HydroBucket
Visionary HydroponicsOriginal price $39.74Original price $39.74 - Original price $39.74Original price $39.74Current price $29.08$29.08 - $29.08Current price $29.08HydroBucket is the answer to your Deep Water Culture hydroponics needs.It streamlines your home growing experience, allowing you to focus on nurtur...
View full detailsOriginal price $39.74Original price $39.74 - Original price $39.74Original price $39.74Current price $29.08$29.08 - $29.08Current price $29.08Save 27% -
HydroLid
Visionary HydroponicsOriginal price $35.95Original price $35.95 - Original price $35.95Original price $35.95Current price $26.96$26.96 - $26.96Current price $26.96Premium Quality Hydroponic Lid for Optimal Fluid Movement and Plant Support The HydroLid is your essential tool for achieving optimal hydroponic gr...
View full detailsOriginal price $35.95Original price $35.95 - Original price $35.95Original price $35.95Current price $26.96$26.96 - $26.96Current price $26.96Sold out

